

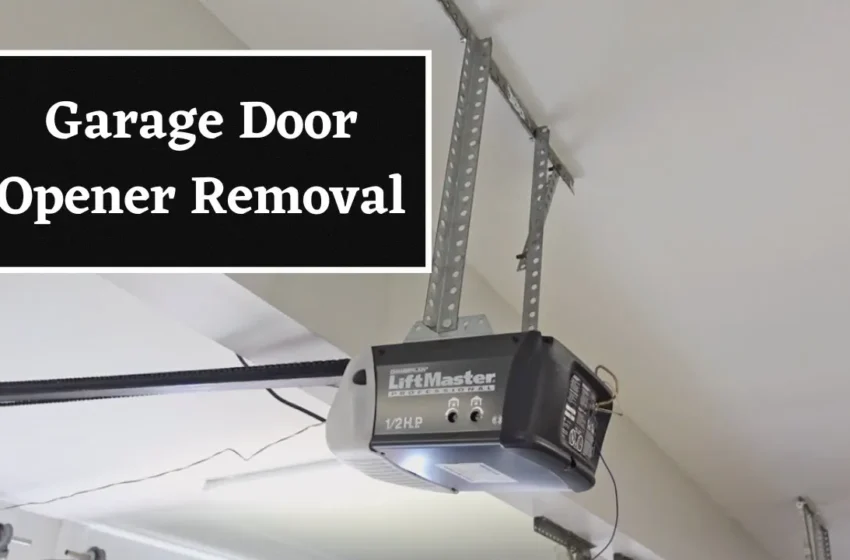
Garage door openers have become an essential part of our daily lives, providing convenience and security when entering and exiting our homes. Many garage door openers are equipped with built-in light fixtures that illuminate the garage space, making it safer and more functional. However, like any other light bulbs, those in your garage door opener will eventually burn out and require replacement. In this comprehensive guide, we will walk you through the steps of replacing the light bulbs in your garage door opener, ensuring that you have a well-lit and functional garage.
Importance of Proper Garage Lighting:
Before we delve into the replacement process, it’s essential to understand the significance of proper garage lighting. Adequate lighting in your garage provides several benefits:
- Enhanced Safety: Well-lit garages are safer to navigate, reducing the risk of accidents or injuries. Proper lighting helps you see potential obstacles and hazards clearly.
- Security: A well-lit garage enhances security by deterring potential intruders and making it easier to monitor the area. A bright garage also allows you to identify any unusual activity quickly.
- Convenience: Adequate lighting in your garage makes it easier to find and access items stored there. Whether you’re retrieving tools, sports equipment, or holiday decorations, good lighting simplifies the task.
- Workshop Functionality: If you use your garage as a workshop or DIY space, proper lighting is essential for accurate work and ensuring safety.
Identifying the Right Replacement Bulb:
Before replacing the light bulbs in your garage door opener, it’s crucial to select the correct replacement bulbs. Here are the key factors to consider:
- Bulb Type: Garage door opener light fixtures typically use either incandescent or LED bulbs. Determine which type your opener requires by checking the manufacturer’s specifications or your owner’s manual.
- Wattage: Check the recommended wattage for the light bulbs in your garage door opener. Using bulbs with a higher wattage than specified can lead to overheating and potential damage to the opener.
- Bulb Shape and Size: Ensure that the replacement bulbs match the shape and size of the original bulbs to fit properly in the fixture.
- Brightness: Consider the desired brightness level for your garage. LED bulbs are energy-efficient and provide bright illumination, making them a popular choice.
- Color Temperature: LED bulbs come in various color temperatures, ranging from warm white to cool white. Choose a color temperature that suits your preference and lighting needs.
Safety Precautions Before Replacement:
Before replacing the light bulbs in your garage door opener, prioritize safety with the following precautions:
- Disconnect the Opener: Unplug or disconnect the power source of your garage door opener to prevent any accidental activation during the replacement process.
- Allow the Bulb to Cool: If you are replacing a burnt-out bulb, ensure that it has cooled down completely to avoid the risk of burns.
- Wear Safety Gear: Consider wearing safety gloves and protective eyewear, especially if the bulb is located in a hard-to-reach area or if there is any risk of glass breakage.
- Use a Stable Ladder: If you need a ladder to reach the light fixture, use a stable and appropriate ladder for the task. Ensure that it is positioned on a level surface and that someone knows you are working on the ladder.
Step-by-Step Guide for Replacing Garage Door Opener Light Bulbs:
Now, let’s walk through the process of replacing the light bulbs in your garage door opener:
Step 1: Access the Light Fixture:
Most garage door opener light fixtures are located on the motor unit near the ceiling of the garage. To access the light fixture:
- Use a ladder to reach the motor unit safely.
- If your garage door opener has a lens cover, remove it by gently pushing or sliding it off, depending on the design.
- Some models may have a removable lens cover secured with screws. If so, use a screwdriver to remove the screws and take off the cover.
Step 2: Remove the Old Bulb:
Once you have access to the light fixture:
- If the old bulb is still functional, carefully unscrew it counterclockwise (lefty loosey) to remove it from the socket. Be cautious not to apply excessive force or twist too tightly, as this may damage the socket.
- If the old bulb is burnt out or damaged, use a gloved hand or a cloth to remove it safely. Dispose of the old bulb properly, following local regulations for disposal of incandescent or LED bulbs.
Step 3: Install the New Bulb:
With the old bulb removed, it’s time to install the new one:
- Screw the replacement bulb clockwise (righty tighty) into the socket. Hand-tighten the bulb firmly but avoid over-tightening, as this can damage the socket.
- If you are using an LED bulb, be mindful of any markings indicating which side should face downward. Some LED bulbs have a heat sink or venting on one side, and positioning it correctly ensures proper cooling.
Step 4: Reattach the Lens Cover:
If your garage door opener has a lens cover:
- If you removed a snap-on lens cover, gently snap it back into place over the new bulb.
- If you removed a lens cover secured with screws, reattach it by securing the screws in their respective holes and tightening them with a screwdriver.
Step 5: Restore Power:
After successfully replacing the light bulb and reattaching the lens cover:
- Reconnect the power source or plug in the garage door opener.
Step 6: Test the New Bulb:
Turn on the garage door opener’s light to ensure that the new bulb is working correctly. If the light does not illuminate, double-check the bulb’s installation and socket connection.
Additional Tips and Considerations:
- LED bulbs are a popular choice for garage door opener light fixtures due to their energy efficiency and long lifespan. They also generate less heat than incandescent bulbs.
- Avoid using rough service or vibration-resistant incandescent bulbs, as they may emit more heat and can be less efficient.
- Consider upgrading to smart bulbs or LED fixtures with built-in motion sensors or compatibility with smart home systems for added convenience and security.
- If you are unsure about the type of replacement bulb or have difficulty accessing the light fixture, consult your garage door opener’s owner’s manual or contact the manufacturer for guidance.
Conclusion:
Maintaining proper lighting in your garage is essential for safety, security, and functionality. Replacing the light bulbs in your garage door opener is a straightforward task that ensures you have a well-lit space whenever you need it. By following the step-by-step guide outlined in this article and choosing the right replacement bulbs, you can enjoy the benefits of a well-illuminated garage, making it easier and safer to use for various purposes, from parking your car to working on DIY projects.