Steps to Ensure a Smooth Window Regulator Replacement Process
A malfunctioning car window can be a major inconvenience and safety concern. Whether it’s due to a damaged window regulator, a worn-out motor, or other issues, replacing a window regulator is a task that many car owners may face at some point. While it may seem daunting, a smooth window regulator replacement process can be achieved with the right approach and preparation. In this article, we’ll guide you through the steps to ensure a seamless and successful window regulator replacement.
1. Gather the Necessary Tools and Parts:
Before you begin the replacement process, gather all the tools and parts you’ll need. This includes:
- Replacement window regulator: Ensure it is compatible with your vehicle’s make and model.
- Screwdrivers: Both flathead and Phillips-head screwdrivers may be required to remove screws and fasteners.
- Trim removal tools: These specialized tools help you safely remove interior door panels without damaging them.
- Socket set and wrenches: You may need different sizes of sockets and wrenches to remove bolts and nuts.
- Clip remover: For disconnecting clips and retaining fasteners.
- Protective gloves and safety glasses: To protect your hands and eyes during the process.
- Battery disconnect tool: To safely disconnect the car’s battery before working on electrical components.
- Multimeter or voltage tester: Useful for checking electrical connections.
- Replacement clips and fasteners: In case any clips or fasteners are damaged during removal.
- Adhesive or sealant: To reseal any areas where the interior door panel meets the door frame.
- Lubricant: To ensure smooth operation of the window regulator and tracks after installation.
- Work light or flashlight: For better visibility inside the door panel.
Having these tools and parts ready will save you time and help ensure a successful replacement.
2. Disconnect the Car Battery:
Safety is a top priority when working on electrical components. To prevent electrical accidents and accidental window activation, disconnect the car’s battery before beginning the replacement process. Use a battery disconnect tool or manually disconnect the negative (black) cable from the battery terminal.
3. Remove the Inner Door Panel:
Access to the window regulator is gained by removing the inner door panel. The exact process may vary depending on your vehicle’s make and model, but generally, it involves the following steps:
- Carefully pry off any trim pieces or covers covering screws or fasteners.
- Use trim removal tools to gently pry the clips holding the door panel in place.
- Unscrew any visible screws securing the door panel to the door frame.
- Lift the door panel upward and away from the door frame. Be cautious not to damage any electrical connections, as some door panels may have wiring for switches and lights.
4. Disconnect Electrical Connections:
Once you’ve removed the door panel, locate and disconnect any electrical connections related to the window regulator and switches. This includes unplugging the window motor and switch connections. Use a multimeter or voltage tester to ensure that there is no electrical current running through the connections.
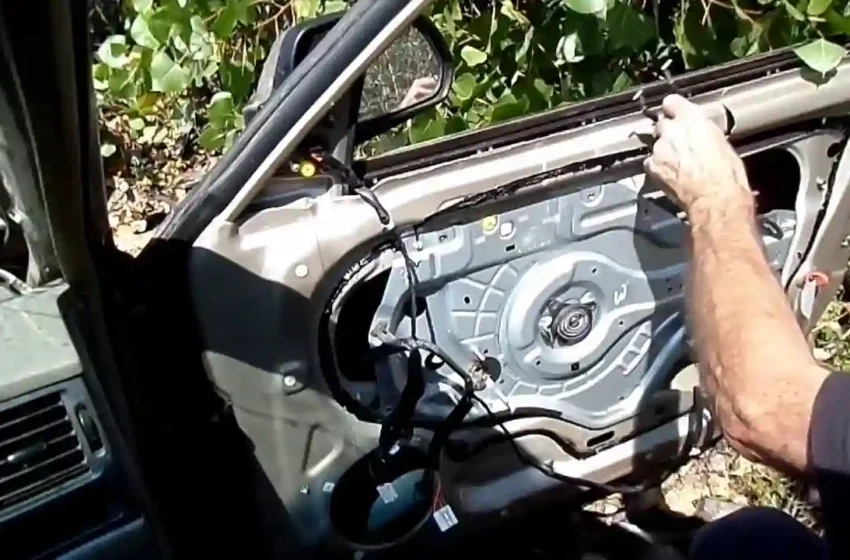
5. Remove the Old Window Regulator:
With the electrical connections disconnected, you can now access and remove the old window regulator. The exact process may vary, but it typically involves these steps:
- Locate and remove any bolts or screws securing the regulator to the window glass and door frame.
- Carefully detach the regulator from the window glass and track.
- Slide or maneuver the old regulator out of the door frame.
6. Install the New Window Regulator:
Now that you’ve removed the old regulator, it’s time to install the new one. Follow these steps for a successful installation:
- Carefully slide the new regulator into the door frame.
- Align it with the window glass and secure it in place using the appropriate bolts or screws.
- Ensure that the regulator is properly positioned and that it moves freely without obstruction.
- Reconnect any electrical connections, including the window motor and switch connections.
7. Test the Window Regulator:
Before reassembling the door panel, it’s essential to test the new window regulator to ensure that it operates smoothly and without issues. Reconnect the car’s battery and use the window switch to raise and lower the window. Pay attention to any unusual noises, jerky movements, or other problems. If you encounter issues, address them before proceeding.
8. Reassemble the Inner Door Panel:
With the window regulator functioning correctly, it’s time to reassemble the inner door panel. Follow these steps:
- Align the door panel with the door frame and ensure that all electrical connections are properly attached.
- Carefully push the door panel back into place, making sure that any clips or fasteners engage securely.
- Screw in any bolts or screws that were removed during the door panel removal process.
- Reattach any trim pieces or covers that were removed earlier.
9. Reconnect the Car Battery:
Now that the inner door panel is back in place, you can safely reconnect the car’s battery. Reconnect the negative (black) cable to the battery terminal.
10. Test the Window Again:
After reassembling the door panel and reconnecting the battery, test the window regulator one more time to ensure that it operates smoothly and without any issues. Make any necessary adjustments or repairs if you encounter problems.
11. Check for Leaks and Sealing:
Finally, inspect the area where the inner door panel meets the door frame for any gaps or areas where moisture or air could enter the vehicle. Apply adhesive or sealant as needed to ensure a proper seal.
12. Final Inspection:
Perform a final inspection of the window regulator, door panel, and surrounding areas to ensure everything is in order. Ensure that all screws, clips, and trim pieces are securely in place.
By following these steps and taking your time during each stage of the window regulator replacement process, you can ensure a smooth and successful repair. If you’re uncomfortable with any aspect of the replacement, or if you encounter unexpected difficulties, it’s advisable to seek professional assistance from an experienced mechanic or auto technician. Properly functioning windows are crucial for your safety and comfort on the road, making window regulator replacement a worthwhile investment in your vehicle’s maintenance.